Any question about the article?
Please use your work e-mail, so we can connect with you
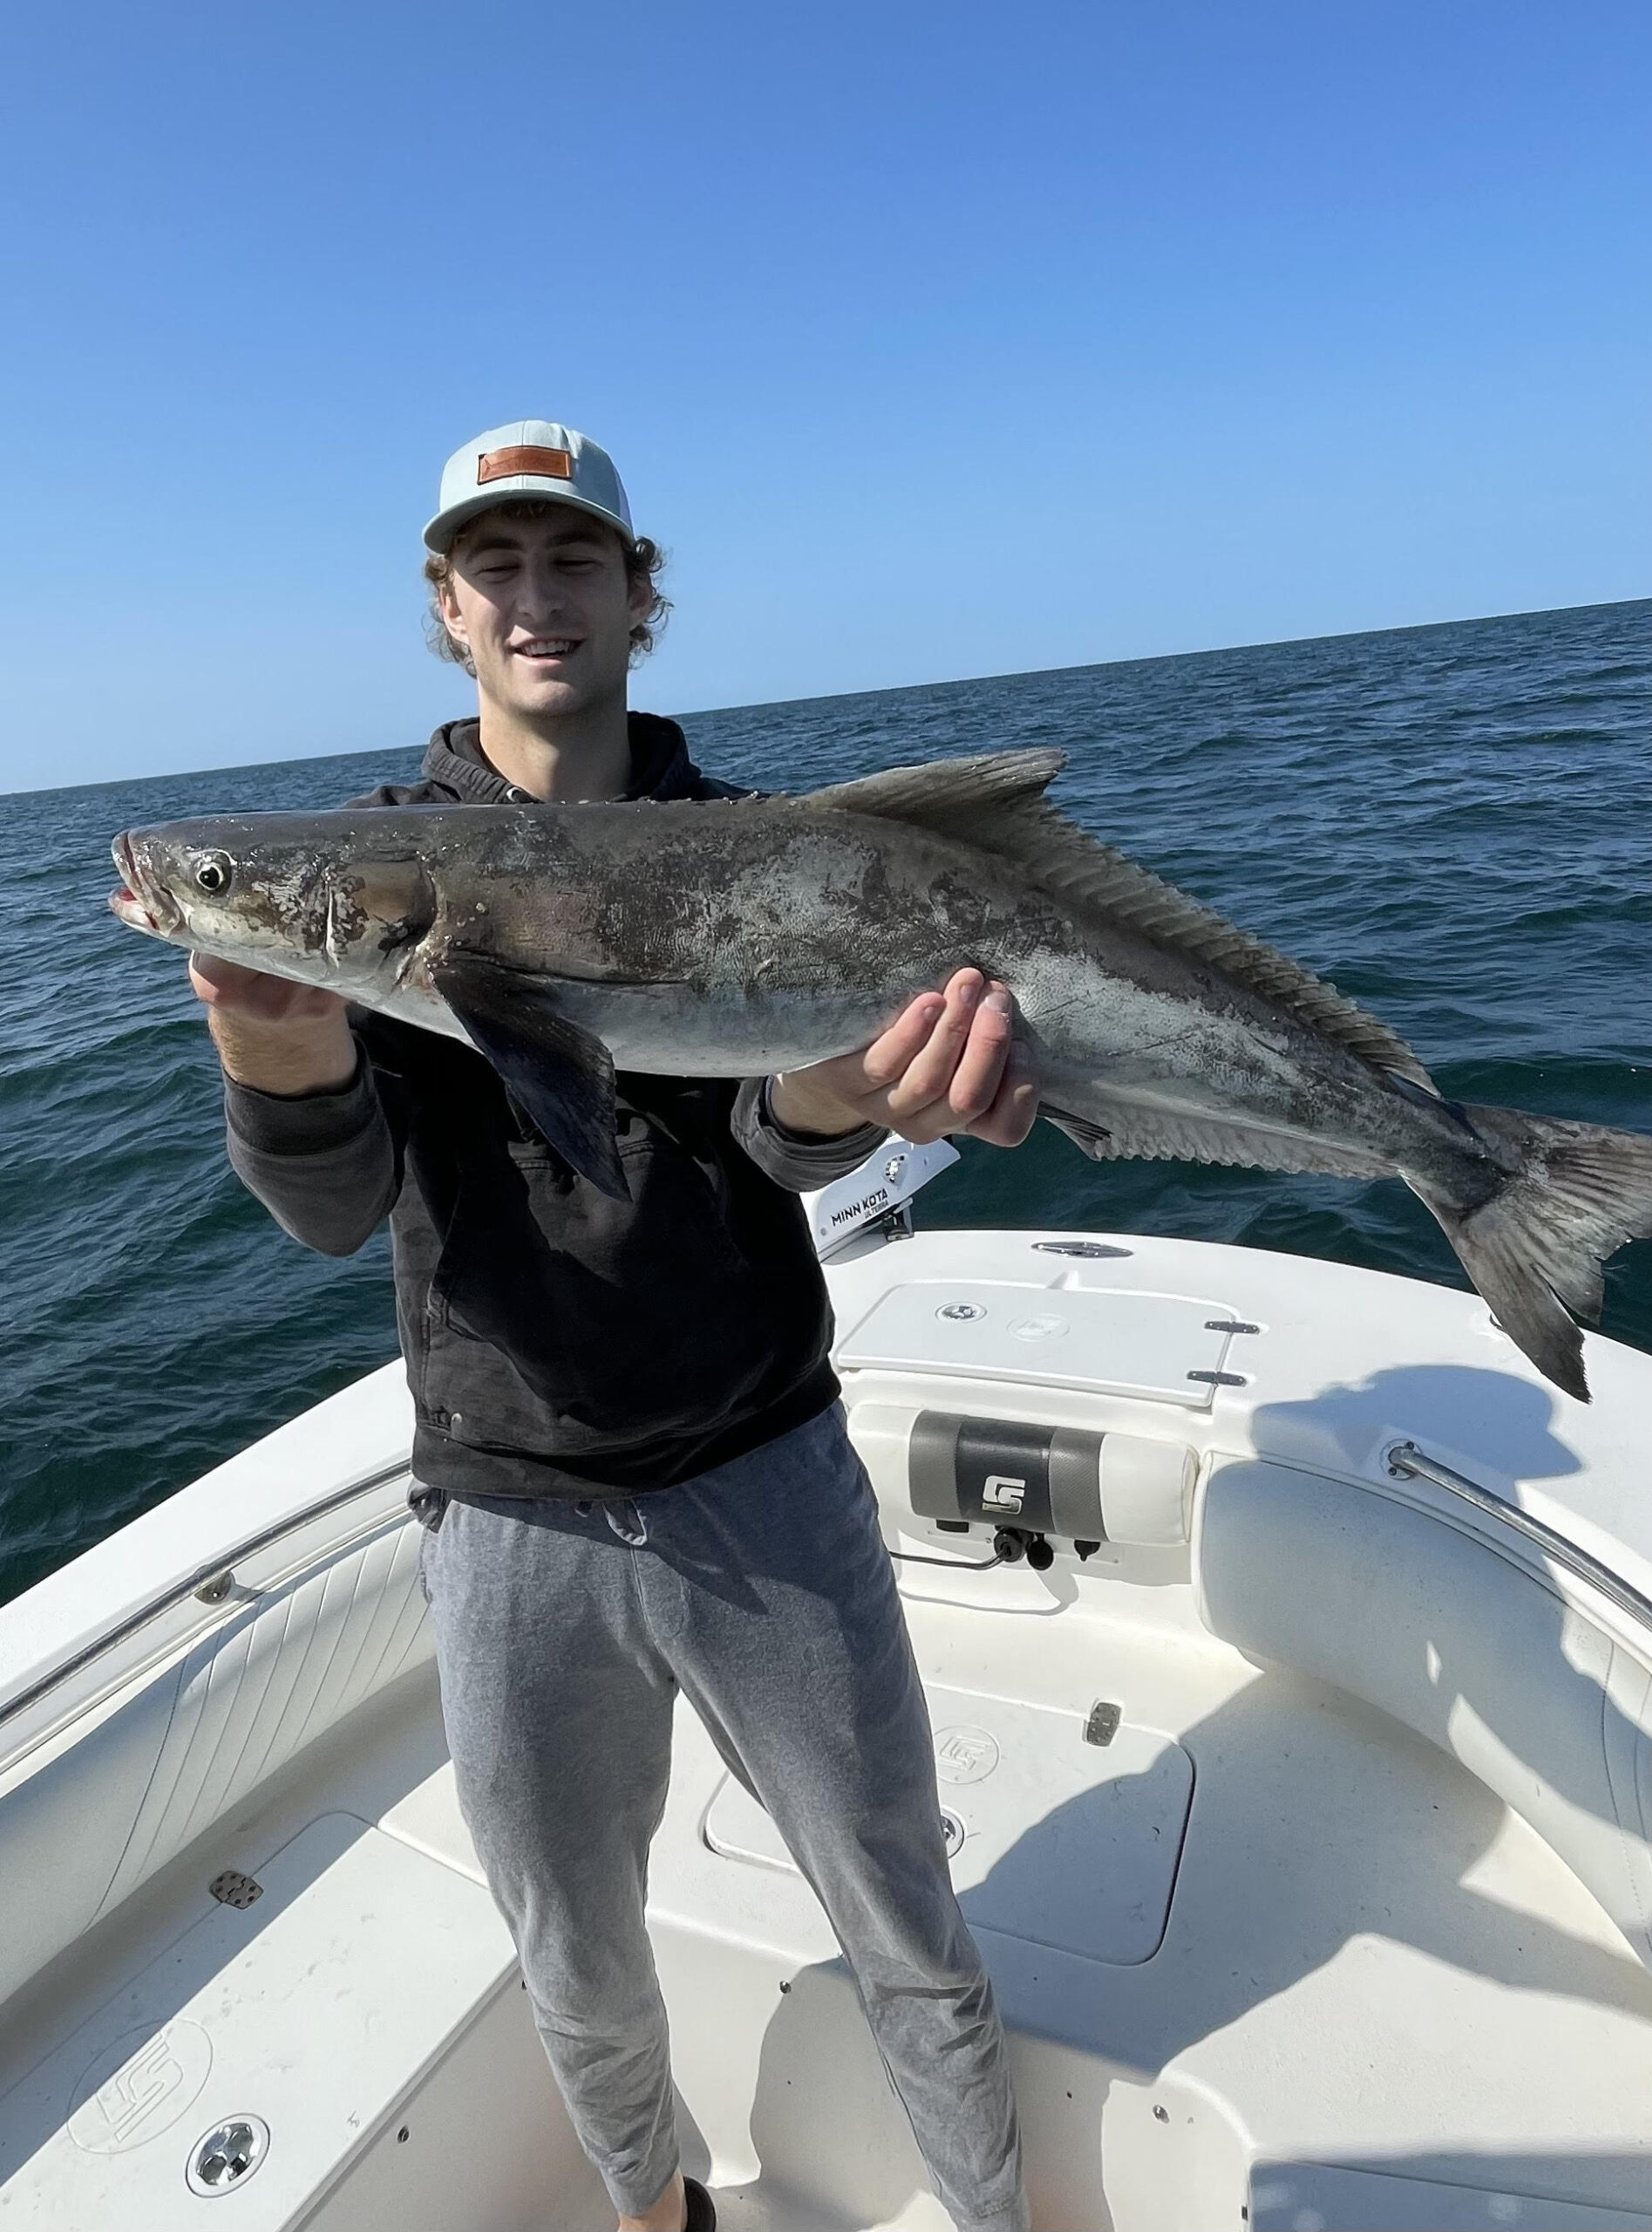
Setting up your fishing rod the right way can make or break your day on the water. Your day, just based on how you set up, could end in tragedy, or it could end in triumph—that’s what I’m here for. In this article, I’m going to walk you through everything you need to know about how to set up a fishing rod for beginners right at home. While this article may be targeted at beginner fishermen new to the sport, even experienced anglers have something to learn as well, so be sure to read through the entire article. I’m going to walk you through all the necessary steps with photos, personal stories, and tips and tricks to keep you entertained and on your toes.
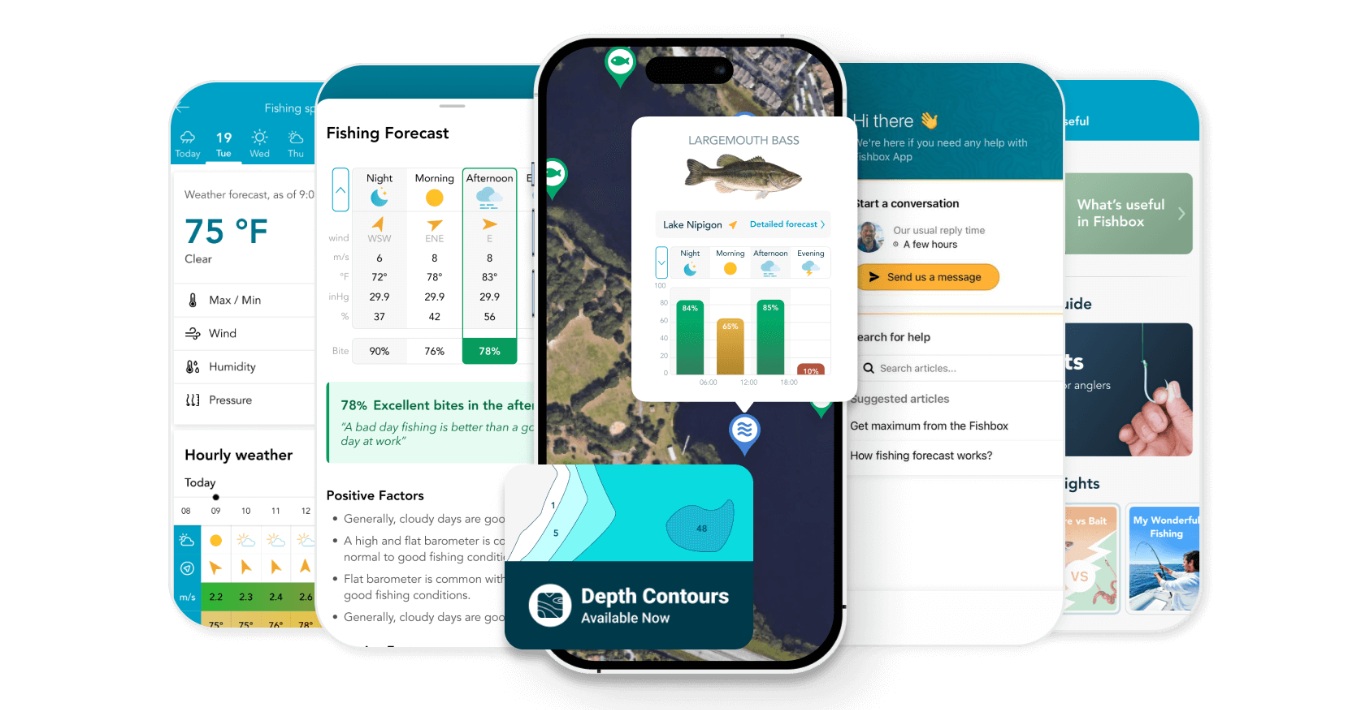
One more thing before I get into this article to start you on the right foot—download the Fishbox App. The Fishbox App has been a game changer for tons of users across the globe. Whether you’re a beginner or expert angler, the Fishbox App has something beneficial for everyone. As an experienced angler myself, one of my favorite things about the app is that it combines all the weather data I need into one easy-to-read bite score to give me an easier look at determining what I should fish for on any given day. For my less experienced anglers reading this article, the Fishbox App is a great place to start putting together your network of fishing spots. With a personalized map tailored to your liking, the Fishbox App will help you grow as an angler in no time. So don’t wait any longer and take your free personalized fishing map quiz today
Without any more delay, let’s jump straight into the article!
Knowing how to set up a fishing pole is an essential skill in becoming a better angler. Even for the pros, it’s always a good thing to review to make sure your setup process is optimized. So, let’s get into it.
Choosing the right rod and reel is the first step in setting up a fishing rod properly. In order to choose the right rod and reel, you need to identify what species you are targeting and how you plan on targeting it. Once this is done, go online, do some research, and ask other experienced anglers what rods and reels they would recommend for you to buy.
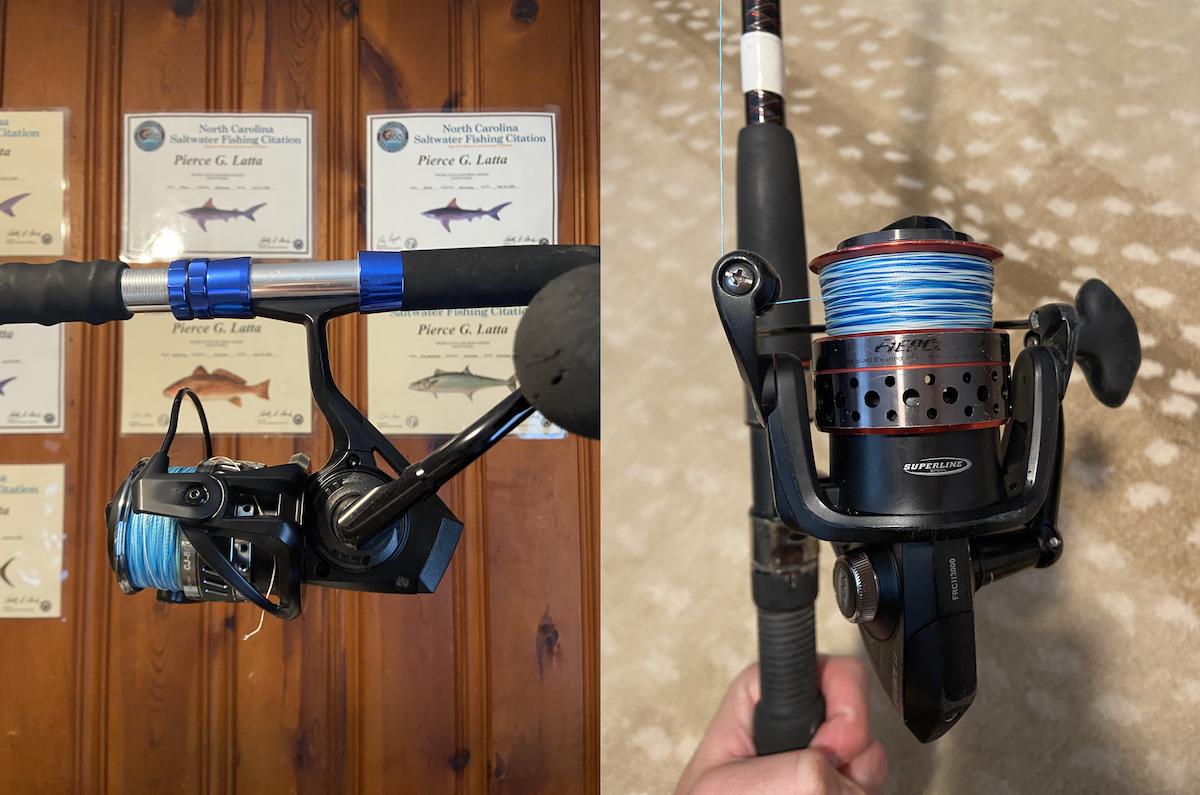
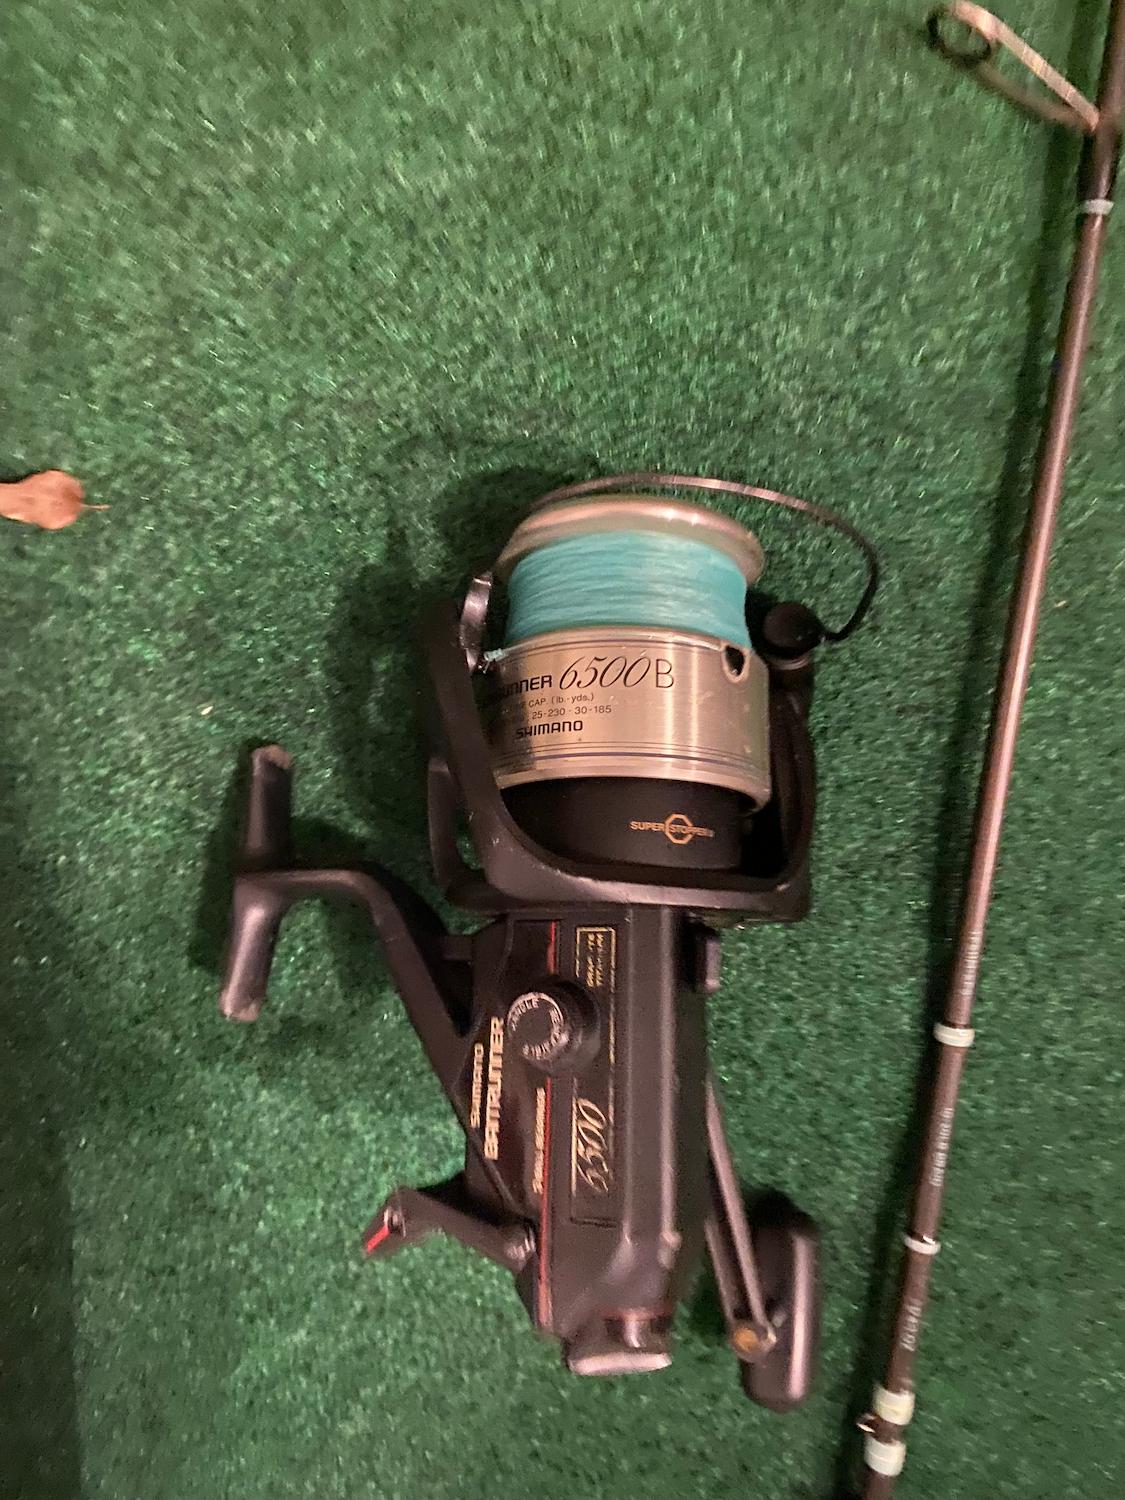
The next step in the setup process is to string your line. Take whatever line you are spooling your reel with and run the end of it down all of the guides on your rod. From here, open the bail of your spinning reel (or put it through the line guide if it is a casting or trolling reel). Tie a knot to the spool—I normally tie a clinch knot in this situation. If you want extra security, you can tape a piece of electrical tape to the spool under where you tie the line so it grips better. I do this on some of my offshore reels. Lastly, trim the tag end of your knot and cut the line above your eyelets so you have the whole rod spooled with line coming out of the top.
In most fishing situations, tying on a leader is only going to help you. The goal of a leader is to make bait presentation a bit better, which could potentially be the difference between catching fish or not. To tie on this leader, select the line weight of the fluorocarbon you want (generally a weaker line than your main line so that it would break first), and then use a double uni knot or another two-line connection knot to make this happen.
The next step really depends on what you are specifically fishing for or how you want to fish. If you are fishing some sort of artificial bait like a paddletail, spoon, or something similar, then you can just tie that directly to the leader with an improved clinch knot. However, if you want to do some sort of bottom fishing or another type of fishing that may require a rig, you can tie that directly on as well. The only real caveat to this is when the weight needs to be slid onto the leader before you tie the rig off (for example, a Carolina Rig). Learning how to rig a fishing pole will make this step far easier.
Lastly, be sure to adjust the drag on your fishing reel so that it reflects whatever you are fishing for. For most applications, your drag should be set around 1/3 of the line’s breaking strength. However, in high-stress applications like bottom fishing, this can go up, or when fishing for species with softer mouths like king mackerel, the drag can go down. All this requires is a bit of research to figure out.
So hopefully this quick summary and these steps on fishing rod setup for beginners are easy to follow. And please, if you have any questions, let me know.
With so many different kinds, colors, strengths, and other factors of fishing lines, it can often be hard to make the right line selection—especially if you are newer to fishing. In order to make this easier, I’m going to give you three main reasons why monofilament is the best type of fishing line for beginners.
Monofilament happens to be far more pliable and bendable, even when using heavier lines, compared to braid and fluorocarbon alternatives. This being said, monofilament allows you to tie knots far more easily than other options. Additionally, you are far less likely to encounter wind knots when using monofilament. I cannot even tell you the number of times I’ve lost yards of braid because of some stupid wind knot. Lastly, monofilament is extremely easy to cast. It literally feels like it’s falling or flying off the reel. It doesn’t drag through the guides like braid does at times.
Unlike fluorocarbon or braid, monofilament’s main comparative advantage for beginners is its ability to stretch. This extra bit of give in the line provides forgiveness in situations where you may snag something or even set the hook on a fish too hard. This forgiveness effectively gives you a bit more wiggle room with drag because the line can lengthen slightly to accommodate a drag that is too tight. Now obviously, we want to be setting our drag to the best of our ability, but if we make our drag a bit tighter than it should be, monofilament has the chance to redeem our mistake.
If you’ve been in any fishing store, you can easily tell that monofilament is the most affordable option out of all the fishing lines. Not only is it inexpensive, but it is also usable in so many different applications—be it freshwater fishing or saltwater fishing, fishing in rivers or in the ocean, from the bank or from a boat. It doesn’t matter the situation; monofilament has got your back when planning a beginner basic fishing line setup.
At the end of the day, yes, monofilament has its downsides, but ultimately it is by far the best option for beginner anglers to spool their rods with due to its ease of use, forgiveness, affordability, and versatility.
Read also: Best Saltwater Rods: Expert Top Picks, Sizing & Types
Putting a hook on a fishing rod is far simpler and shorter than the prior topics we have talked about. This being said, let’s jump straight into it.
To begin, we need to categorize the three different types of line you will be tying hooks to. They are as follows: braid, monofilament/fluorocarbon, and wire. All three of these must be approached differently in order to maximize your chances of your knot staying secure so that the hook doesn’t fall off.
Braid can be a little bit finickier to tie hooks to as opposed to monofilament and fluorocarbon because braid is known to “slip” when subject to pressure and moisture. This being said, knots that may work on monofilament or fluorocarbon may not work or hold with braid. You don’t want to be taking any chances, so best practice is to learn how to tie a couple of knots that are proven not to slip with braided fishing line. Some of these popular knots to attach hooks to braided fishing line are the Palomar Knot or the Uni Knot. Both of these knots are well tested and highly effective at keeping the hook secure.
When tying hooks onto monofilament or fluorocarbon fishing lines, you can effectively use any trustworthy fishing knot out there, as monofilament and fluorocarbon don’t tend to slip at all. This being said, my knot of choice is almost always the Improved Clinch Knot. This knot, when properly tied, has never slipped on me and it is super easy to learn. This being said, I would highly recommend this knot to all anglers for securing hooks to your fishing line.
When attaching hooks to your fishing line with wire, you have to be a bit more meticulous in the process. To do so, you are going to use what is called a Haywire Twist finished with barrel wraps. You can find all sorts of videos showing you how to do this online. I will say, one of the most important things when doing the twist and barrel wraps is to break off the wire at the end and not cut it. Cutting the wire will leave the sharp edges exposed, potentially endangering you or your fishing line.
Crimping is definitely one of the most advanced ways to secure a hook to a fishing line but is almost a necessity in certain situations. As the line weights get larger and the diameter of both wire and monofilament/fluorocarbon gets thicker, it can become quite difficult to tie knots. This is where crimping comes into play. Crimping is effectively smashing a metal sleeve with the line in it so that the hook or other terminal tackle is secured. Videos of this are also available online.
Hopefully, from this brief segment on attaching hooks, you will be prepared for the future and always know exactly what to do when you need to put a new hook on the line!
Choosing the right fishing rod is far more complicated than just one metric. In fact, you should be looking at a combination of lots of different factors before you decide to really pull the trigger on buying that rod. In this section, I’m going to break down this process for you and make it easy to figure out how you choose the correct fishing rod.
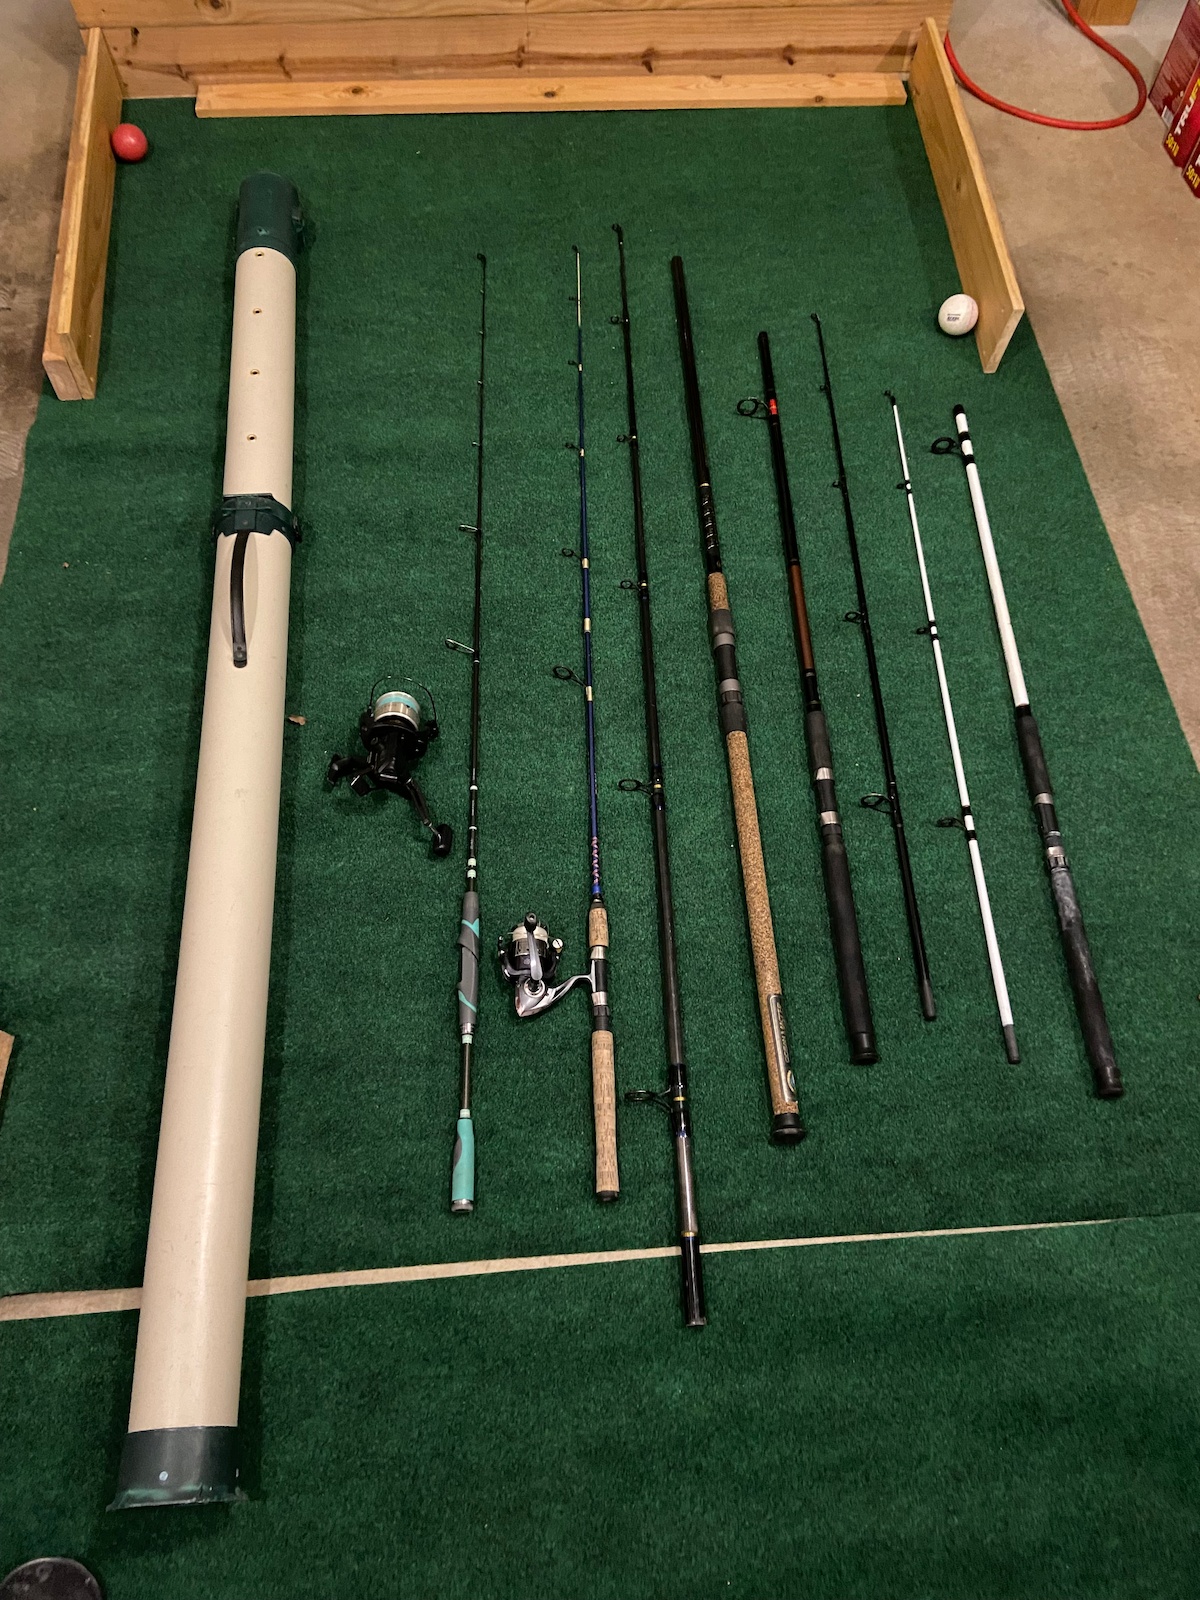
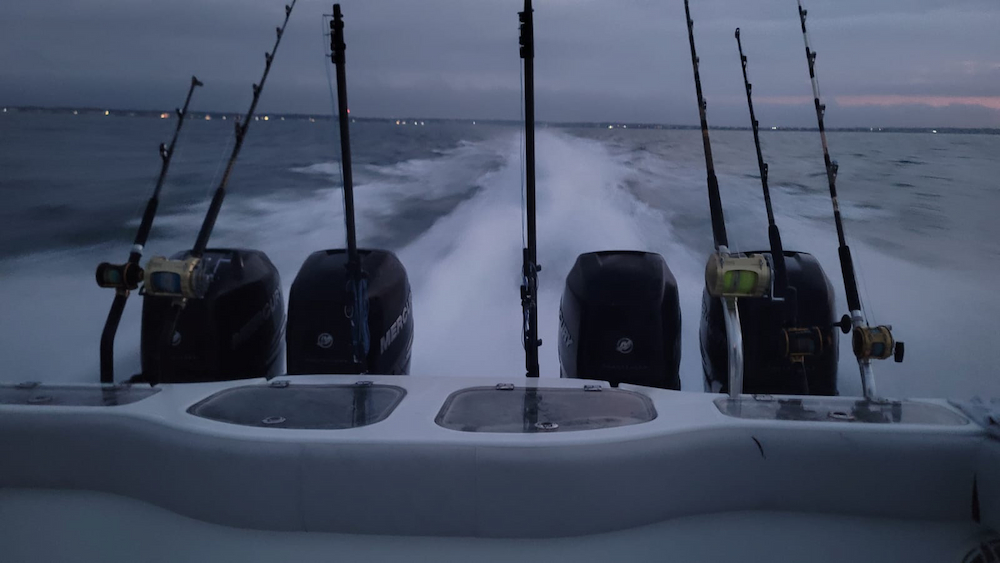
Determining where you are going to be fishing plays a massive part in how you know which rod to choose, as the location should show what size, power, and sensitivity of rod you may need. For example, if you are fishing in a pond or backwater inshore, you can use light spinning rods. For offshore or catfish fishing, you’re going to need to get a heavier rod. In the same way, when fishing off of things like jetties or the beach, you’re going to want heavier gear to combat the elements better. Just keep in mind where you are fishing, and then do some research as to popular gear for that region or body of water.
I already touched on this a bit, but the species and size of the species you are targeting should influence how you pick the rod. Again, the rod you select is going to be very different if you are fishing for bluegill as opposed to bluefin tuna. My advice would be to identify the species you want to target and then ask experienced anglers or shops what they would recommend for you.
Budget is another point to consider when choosing the right fishing rod. We all have very different financial situations and opinions about spending money. This being said, with how many fishing companies are out there, you should have no problem finding the right rod that fits your own budget. I would recommend filtering by price and then reviews to see what people are saying and then match this to what experienced anglers say about the rod. When comparing different models, remember that beginner fishing rod setup choices often depend on species, location, and budget.
I hope all of this information makes picking your next fishing rod easier and gives you some questions to think about before you go empty your wallet on something totally unnecessary. Also, please feel free to email me any questions that you may have and I would be happy to help.
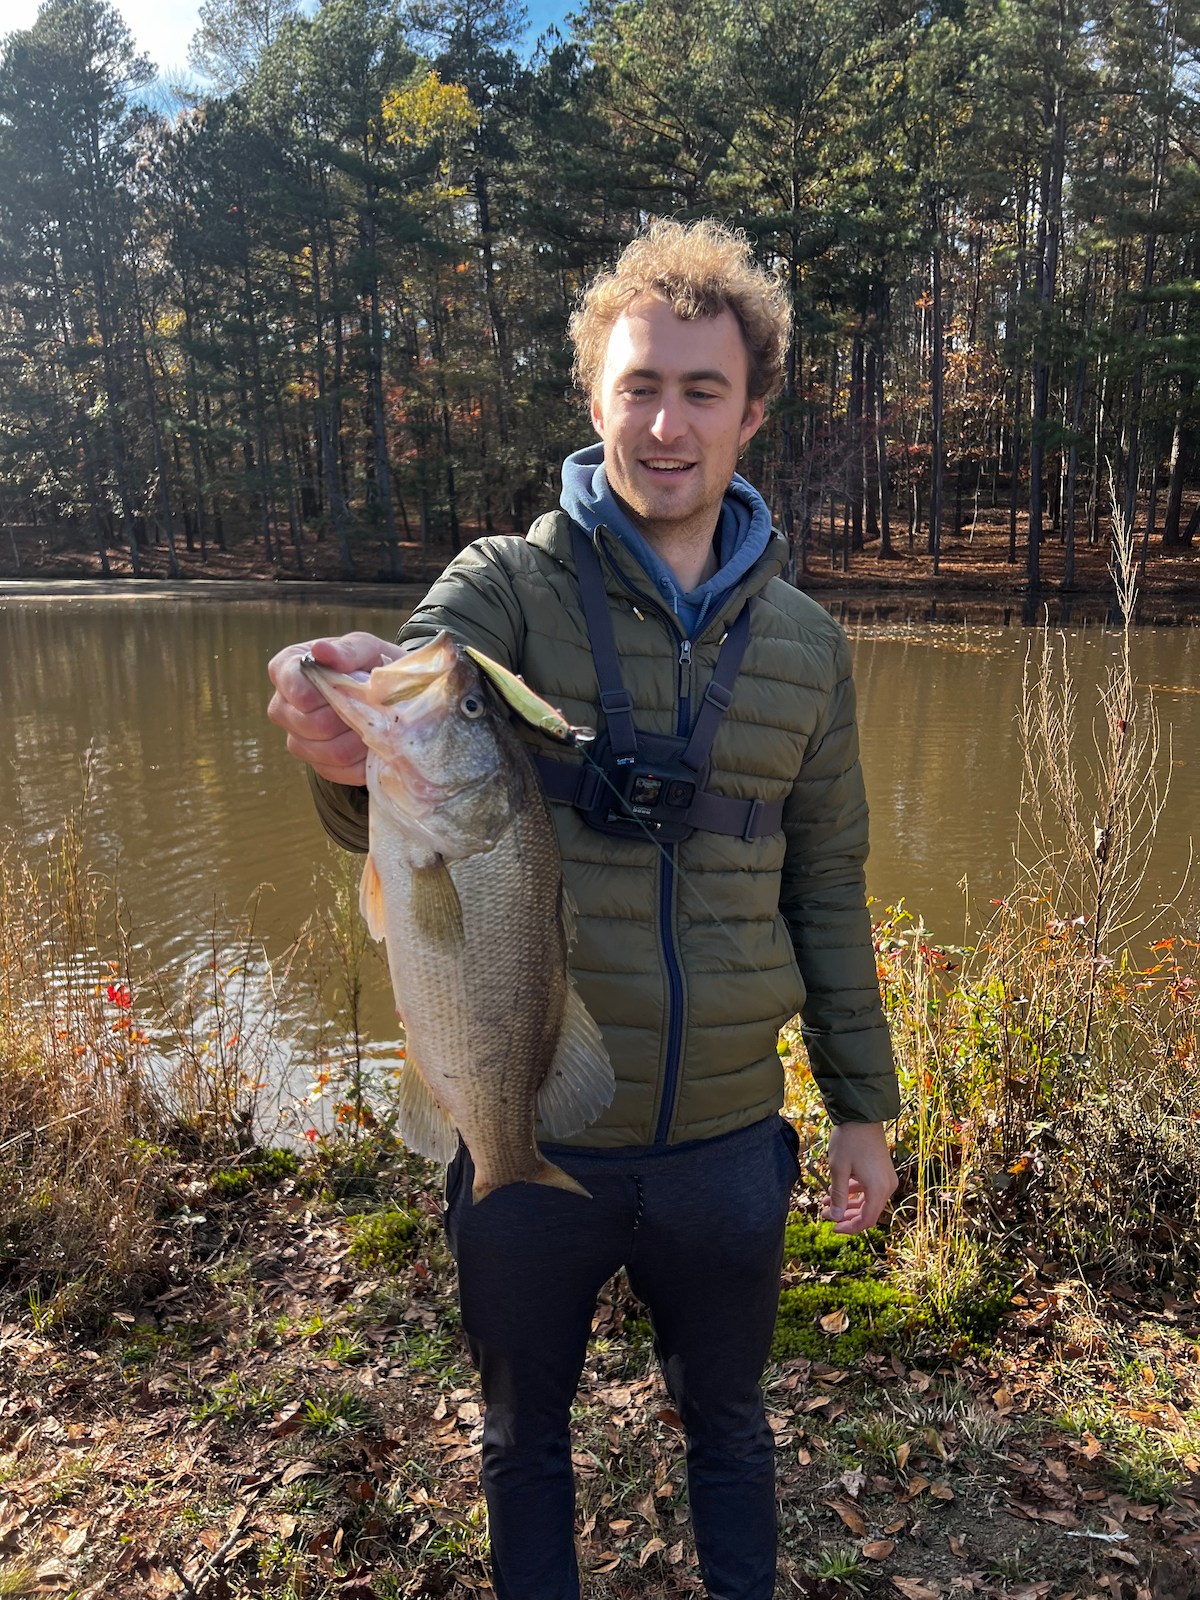
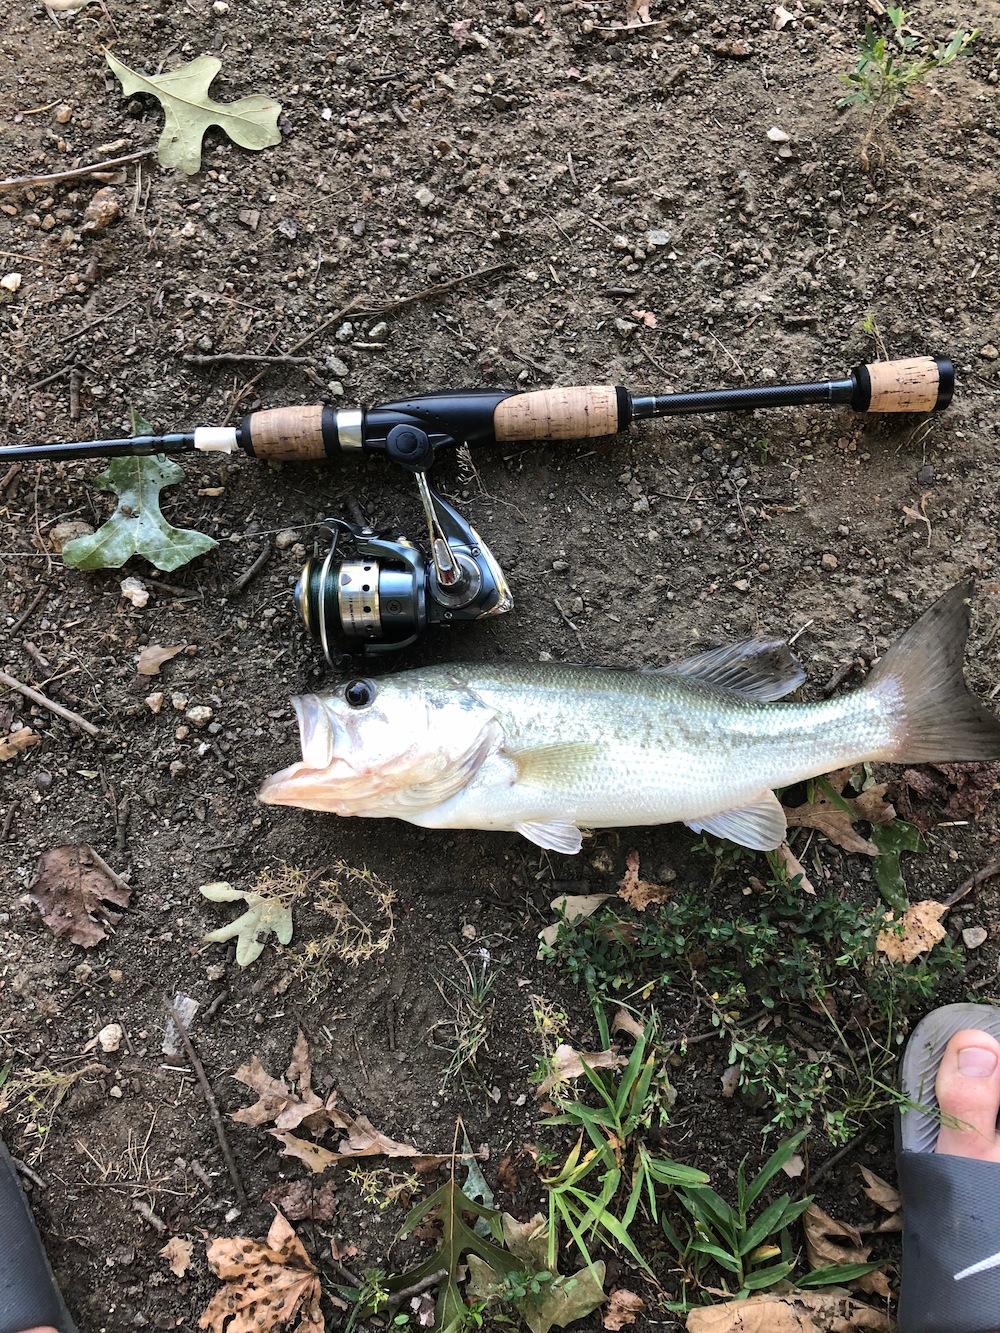
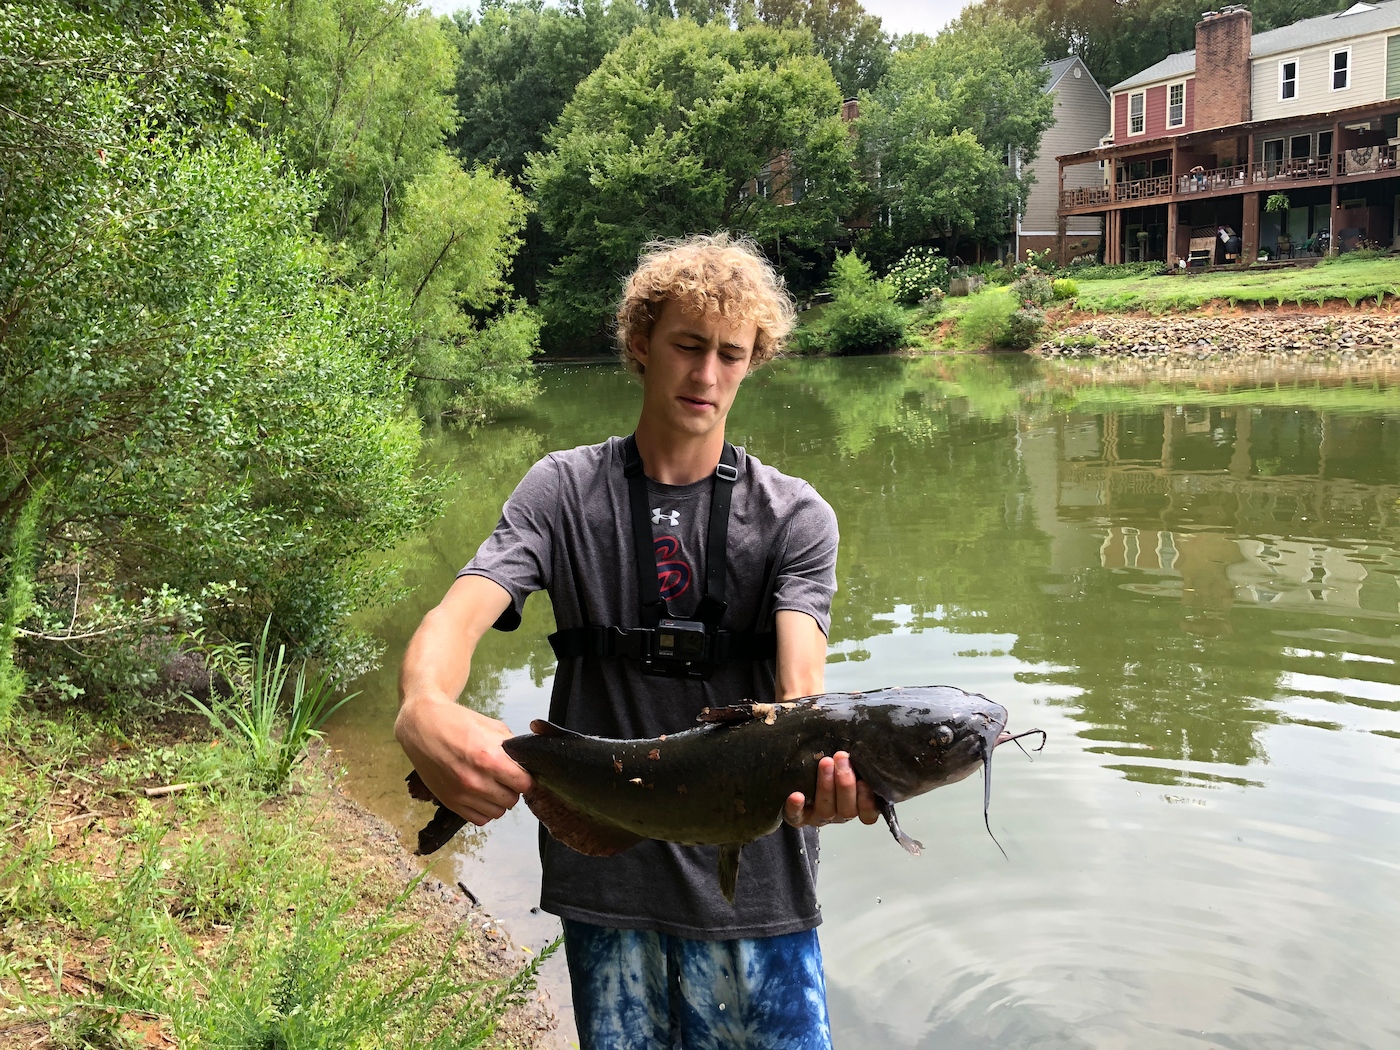
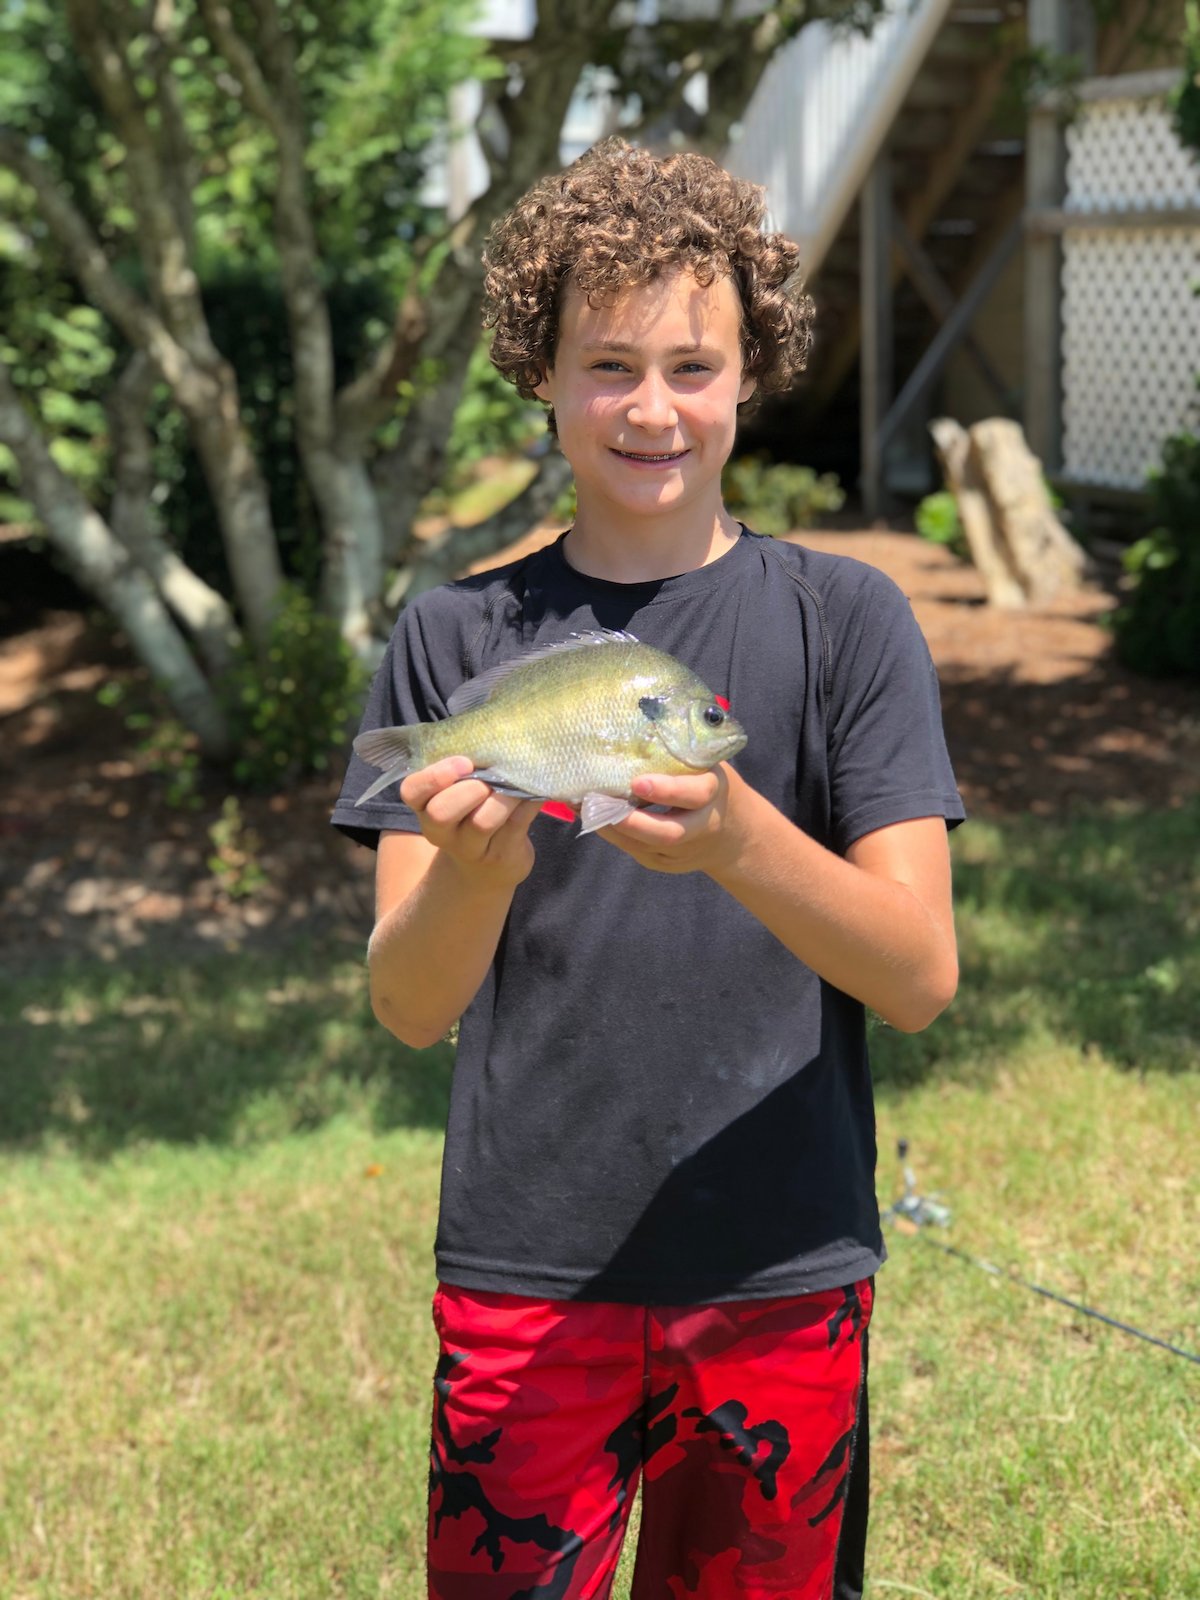
While lake fishing is certainly not the fishing I do the most of, I definitely can pass on my two cents and share how to prepare a fishing rod for a day on the lake. For starters, we need to identify what we are targeting on the lake. For the most part, this can be divided into three main species: bass, catfish, and panfish. Let’s break those down below.
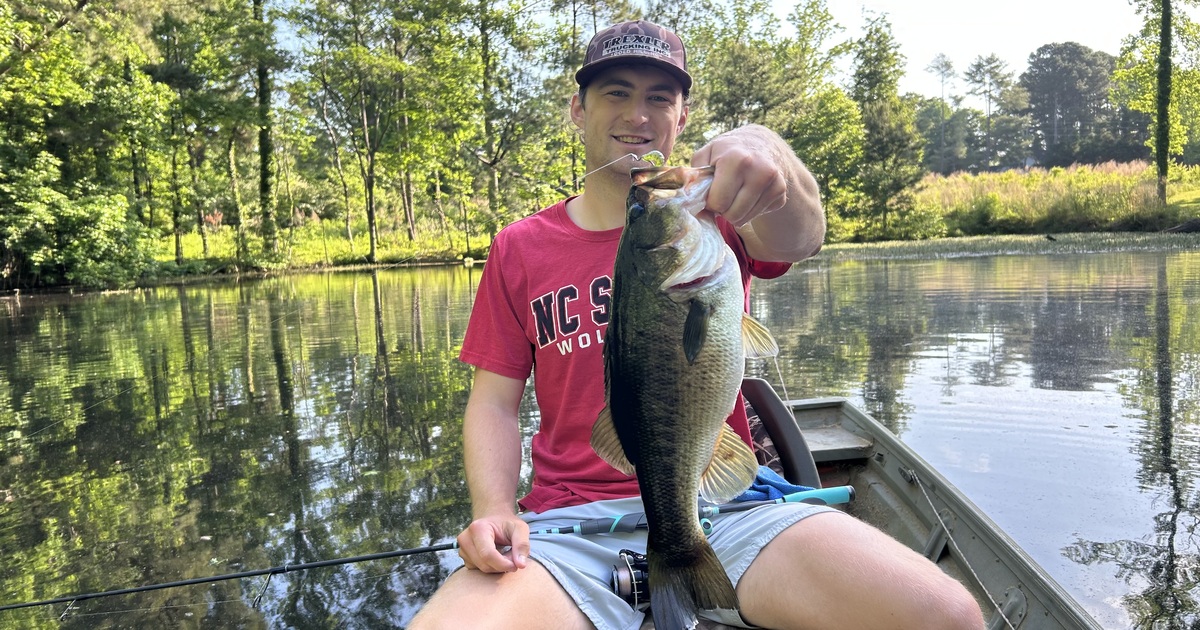
Bass: For bass fishing, you’re going to want to throw artificials—be it worms, crankbaits, topwater, etc. Whatever artificial you throw, it shouldn’t really matter. For the application of bass fishing, I would recommend at least 8 lb line. However, if there are a lot of sticks and snags around, you may even want to bump up to spooling your rod with 20 lb braid so you can get your lures unstuck. In terms of the combo, I would recommend a size 2500–3000 spinning reel and a light action 6-foot rod for good action and sensitivity.
Catfish: Catfish fishing is going to be a little bit different. Since catfish fishing is almost exclusively bait fishing (be it dead or alive), we’re going to want to use heavier spinning rods or even conventional setups to get those big catfish up off the bottom. For these applications, depending on the target size of catfish, you’re going to need heavier line (some anglers even use 40 to 80 lb braided line). For your rig, I would recommend using a Carolina Rig, which you can find pictures of online.
Panfish: In my opinion, if you’re going to panfish, you don’t necessarily need to go out and buy a whole new combo. For myself, I just use a bass rod and put a different rig on depending on how I’m fishing for these panfish. Some of these popular rigs include artificial jigs, bobbers with some sort of bait, little spinnerbaits, and more. You don’t need heavy gear at all, as these panfish often don’t pull too hard or really take any line.
In this section, I want to briefly give some tips and tricks to keep your fishing rods in tip-top shape for many years.
What is the simplest fishing rig?
In my mind, the simplest fishing rig is either the Carolina Rig or just a bobber rig with a float, a split shot weight, and a hook. The Carolina Rig is the go-to inshore saltwater rig, and the bobber rig is the go-to freshwater fishing rig for beginners.
How to set up a fishing line with hook and weight?
To set up a fishing line with a hook and a weight, it usually only takes a few knots. However, the caveat is that you need to know what kind of rig you want. So this FAQ is a bit challenging because I don’t necessarily know which rig you mean. That being said, I’ll give you one example—the Carolina Rig. Slide your egg sinker (weight) onto the main line, use an Improved Clinch Knot to tie on a swivel, then use two more Clinch Knots to tie the leader to the swivel and the leader to the hook.
What’s the best way to set up fishing line?
The best way to set up your fishing line is the way you feel most comfortable using and have practiced the most. Don’t tie something on or try a rig you’ve never done before without some sort of guide or instruction. Moreover, set up your rod and line for success. Don’t leave yourself questioning whether your gear will hold—you need to be confident it will, even if a big one hits. When you practice how to set up a fishing line, focus on clean knots and consistent tension so your hooks stay secure.
What line should I use for lake fishing?
For beginners, I would recommend monofilament fishing line in the 12–20 lb range for all-purpose lake fishing. For more experienced anglers, braid can be a better choice due to the strength and capacity it offers, especially at higher pound tests.
What type of fishing reel is best for beginners—spinning or baitcasting?
This is a no-brainer for me. If you are a beginner, you should start with spinning reels, as they are the foundation of fishing. Once you feel you’ve mastered the spinning reel, you can try a baitcasting reel and learn to use it well. But simply for ease of use, I highly recommend spinning reels if you want to start fishing right away.
What knots should I first learn?
There are three knots that every beginner should learn first: the Improved Clinch Knot, the Palomar Knot, and the Double Uni Knot. With these three, you can tie on any piece of terminal tackle or lure to monofilament, braid, or fluorocarbon, and you can attach leaders of any kind (braid to mono, mono to fluoro, or braid to fluoro).
How do I know what pound line to use?
The size of the line you use depends on the species you are targeting and where you are fishing. For beginners, I recommend studying both the structure and the typical size of species in your area, as well as consulting locals and other experienced anglers who have more time on the water.
How do I set up my drag correctly?
To set your drag correctly, put it at about one-third of the line’s breaking strength. For those who don’t know, drag is essentially the amount of force it takes for line to come off the reel. For example, if you are using 15 lb braided line, you would want to set your drag to about 5 lbs. Obviously, like I mentioned earlier, this can vary based on the species, but for the most part, it holds true. To measure the force of your drag, I highly recommend buying a spring scale to help with the process.
I hope you all have enjoyed reading this article and learning more about how to set up your fishing rod as a beginner. I know I covered a lot in this article, but if I missed something, wasn’t clear, or if you just have a question, please do not hesitate to reach out. I hope you have a great time on the water enjoying God’s creation, and as always, good luck and tight lines!
Pierce Latta has been passionate about fishing since the age of three, growing up casting lines in both freshwater ponds around Charlotte, NC, and the saltwater of Ocean Isle Beach. With nearly 16 years of experience, he’s explored almost every style of fishing imaginable,from fly fishing and surf casting to offshore and inshore adventures. Pierce now shares his knowledge and enthusiasm with others, offering tips, techniques, and inspiration to help anglers of all levels discover the thrill of fishing.